

HALLOWEEN INSPIRED SPIDERWEB PILLOW DIY
Add the perfect touch of Halloween Décor with this spooky fun DIY | Spiderweb Pillow | by maritzagarcia.website

Note: This post contains hyperlinks to other websites. Links are provided to the products I used for this project. All opinions on the products being used are my own. I have no affiliation with any of these companies. Also, you will NOT be redirected to other websites unless you click the links provided.
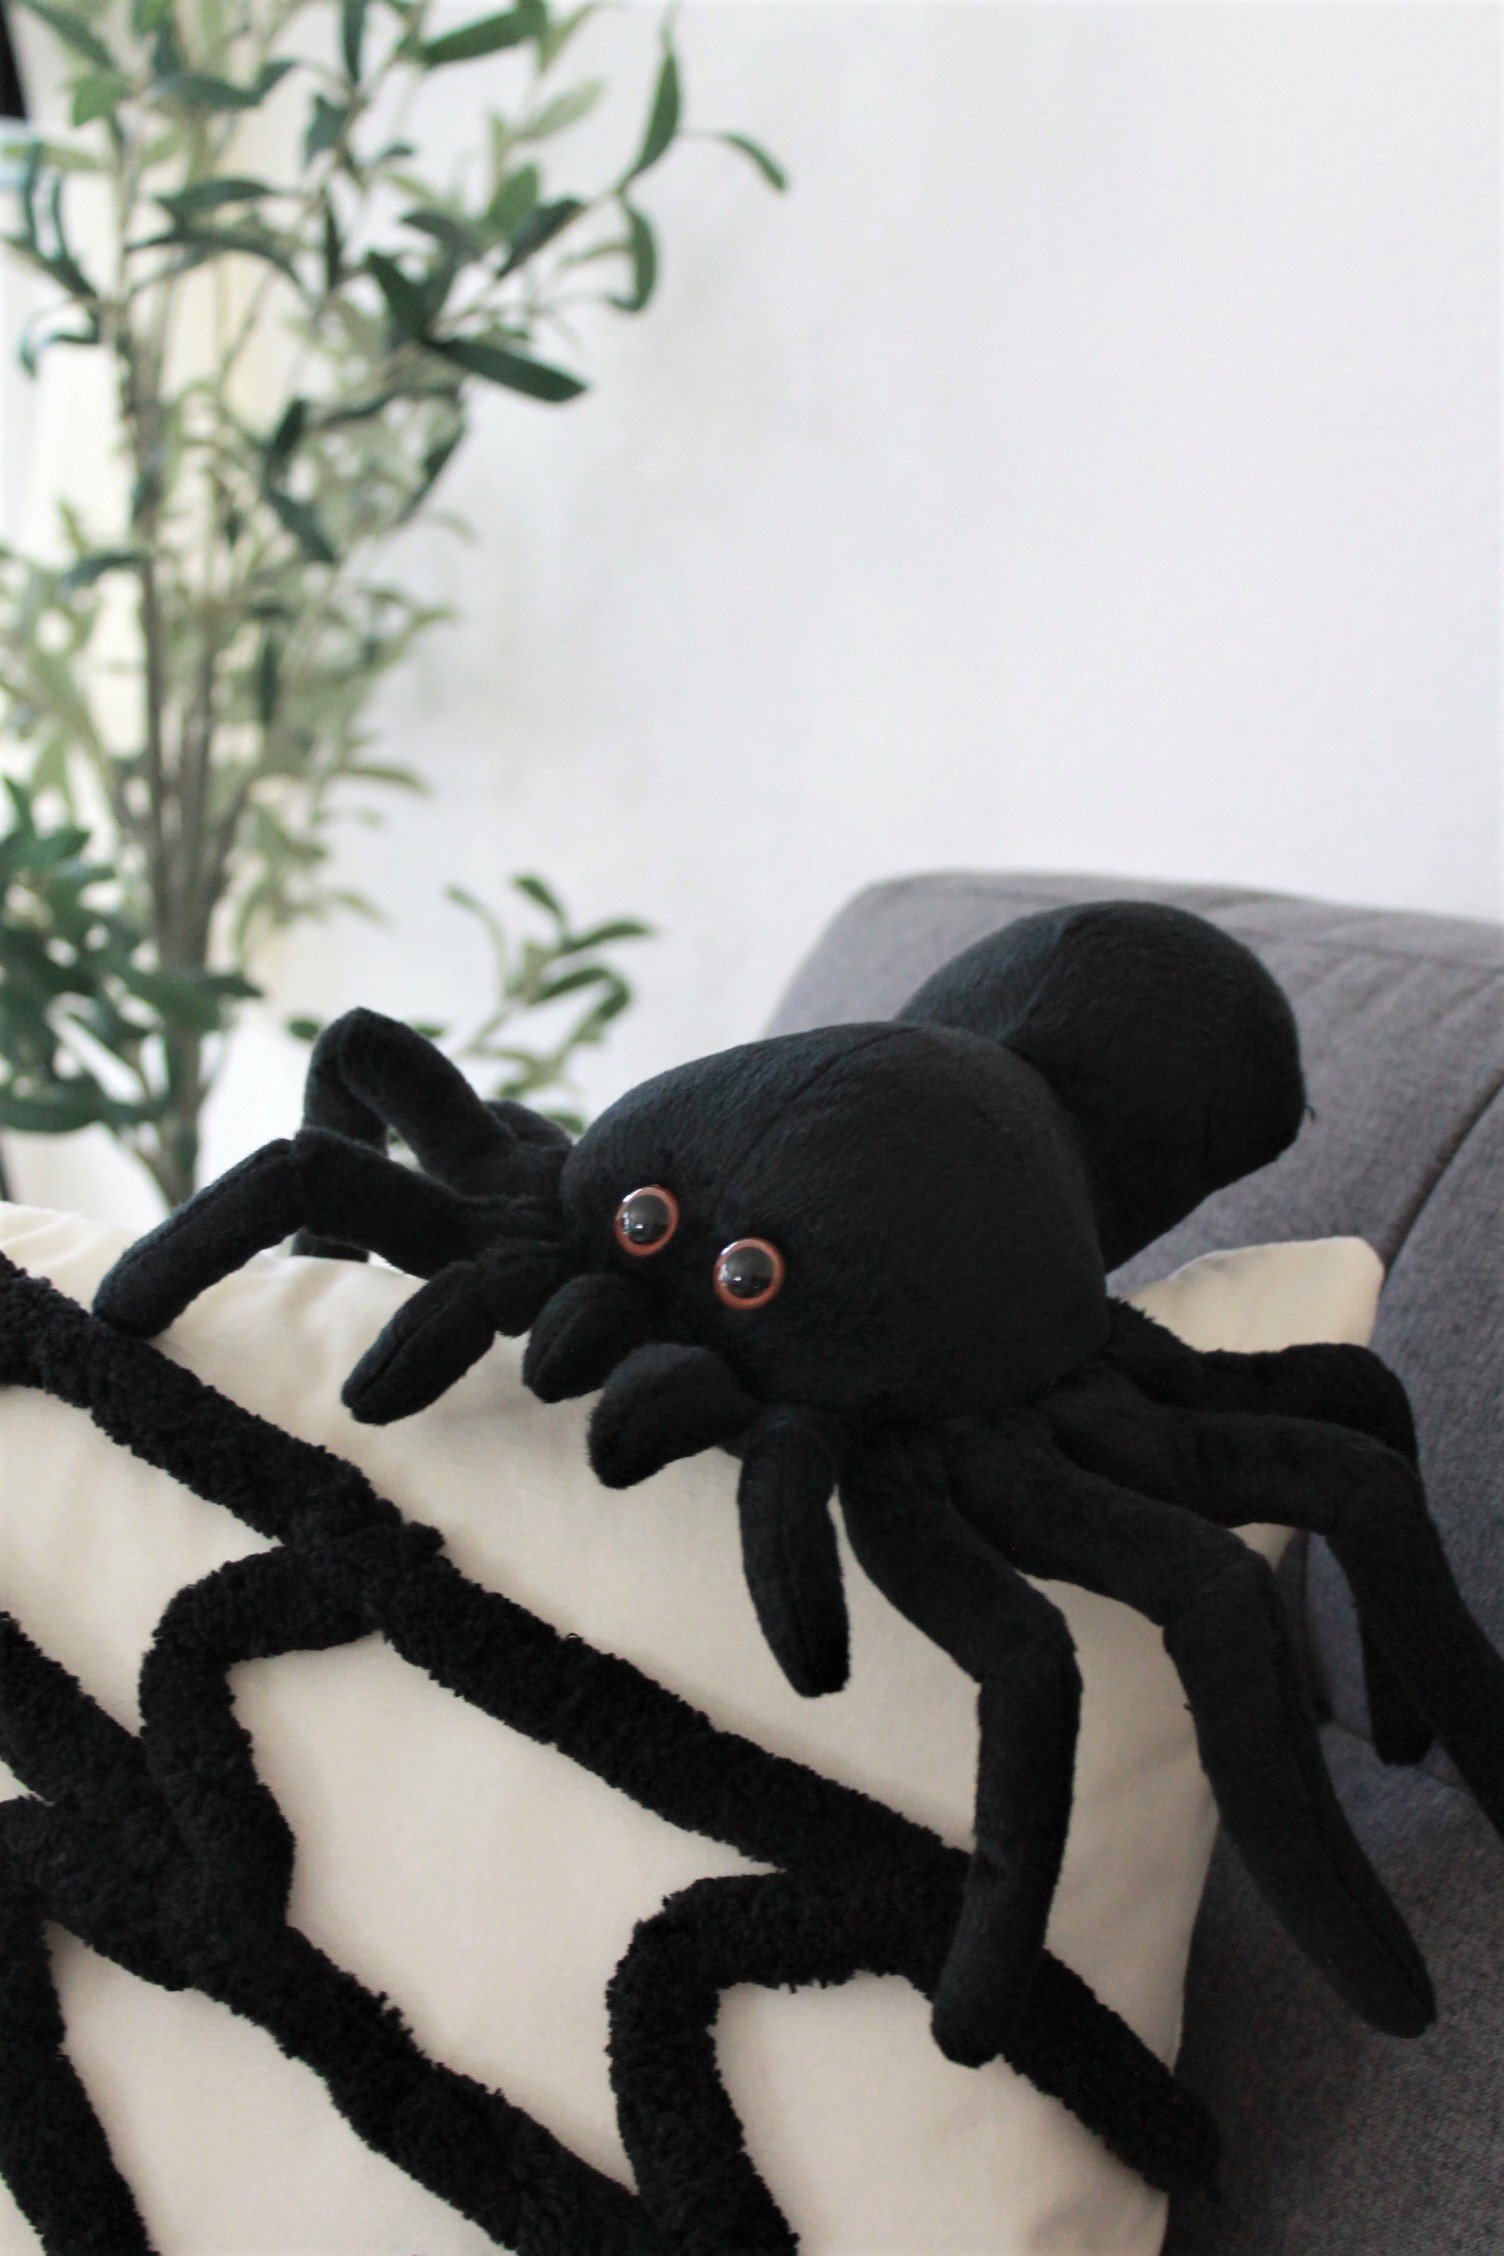
This Halloween pillow features a yarn-stitched spiderweb on an 18in x 18inVelvet Throw Pillow giving it just the right amount of playful creepy. This Halloween-inspired pillow adds a touch of spooky fun to any room in the house.
WITH SPOOKY SEASON IN FULL SWING, IT WOULD BE ALMOST CRIMINAL NOT TO DECK THE HALLS OF ANY LIVABLE HABITAT WITH A FEW FUN SPOOKY ELEMENTS THIS TIME OF YEAR —WOULDN'T YOU AGREE?
IF YOU LIKE SIMPLE HALLOWEEN DECOR AS MUCH AS I DO. YOU'RE DEFINITELY GOING TO LIKE THIS FUN DIY PROJECT. BEST PART. IT IS SUPER EASY TO COMPLETE IN only 1 hour. NOW. WITHOUT FURTHER ADO. LET'S GET STARTED AND MAKE A SPIDERWEB PILLOW.
YOU WILL NEEd:
Scissors
Curved Sewing Needles C Type Needle
Velvet Throw Pillow // Color: Ivory
Cozy Blanket Yarn by Loops & Threads // Color: Black
DMC 6 Strand Embroidery Floss, Group 19 // Color: Black
Spiderweb Link to a How to Draw or Simply Freehand your own
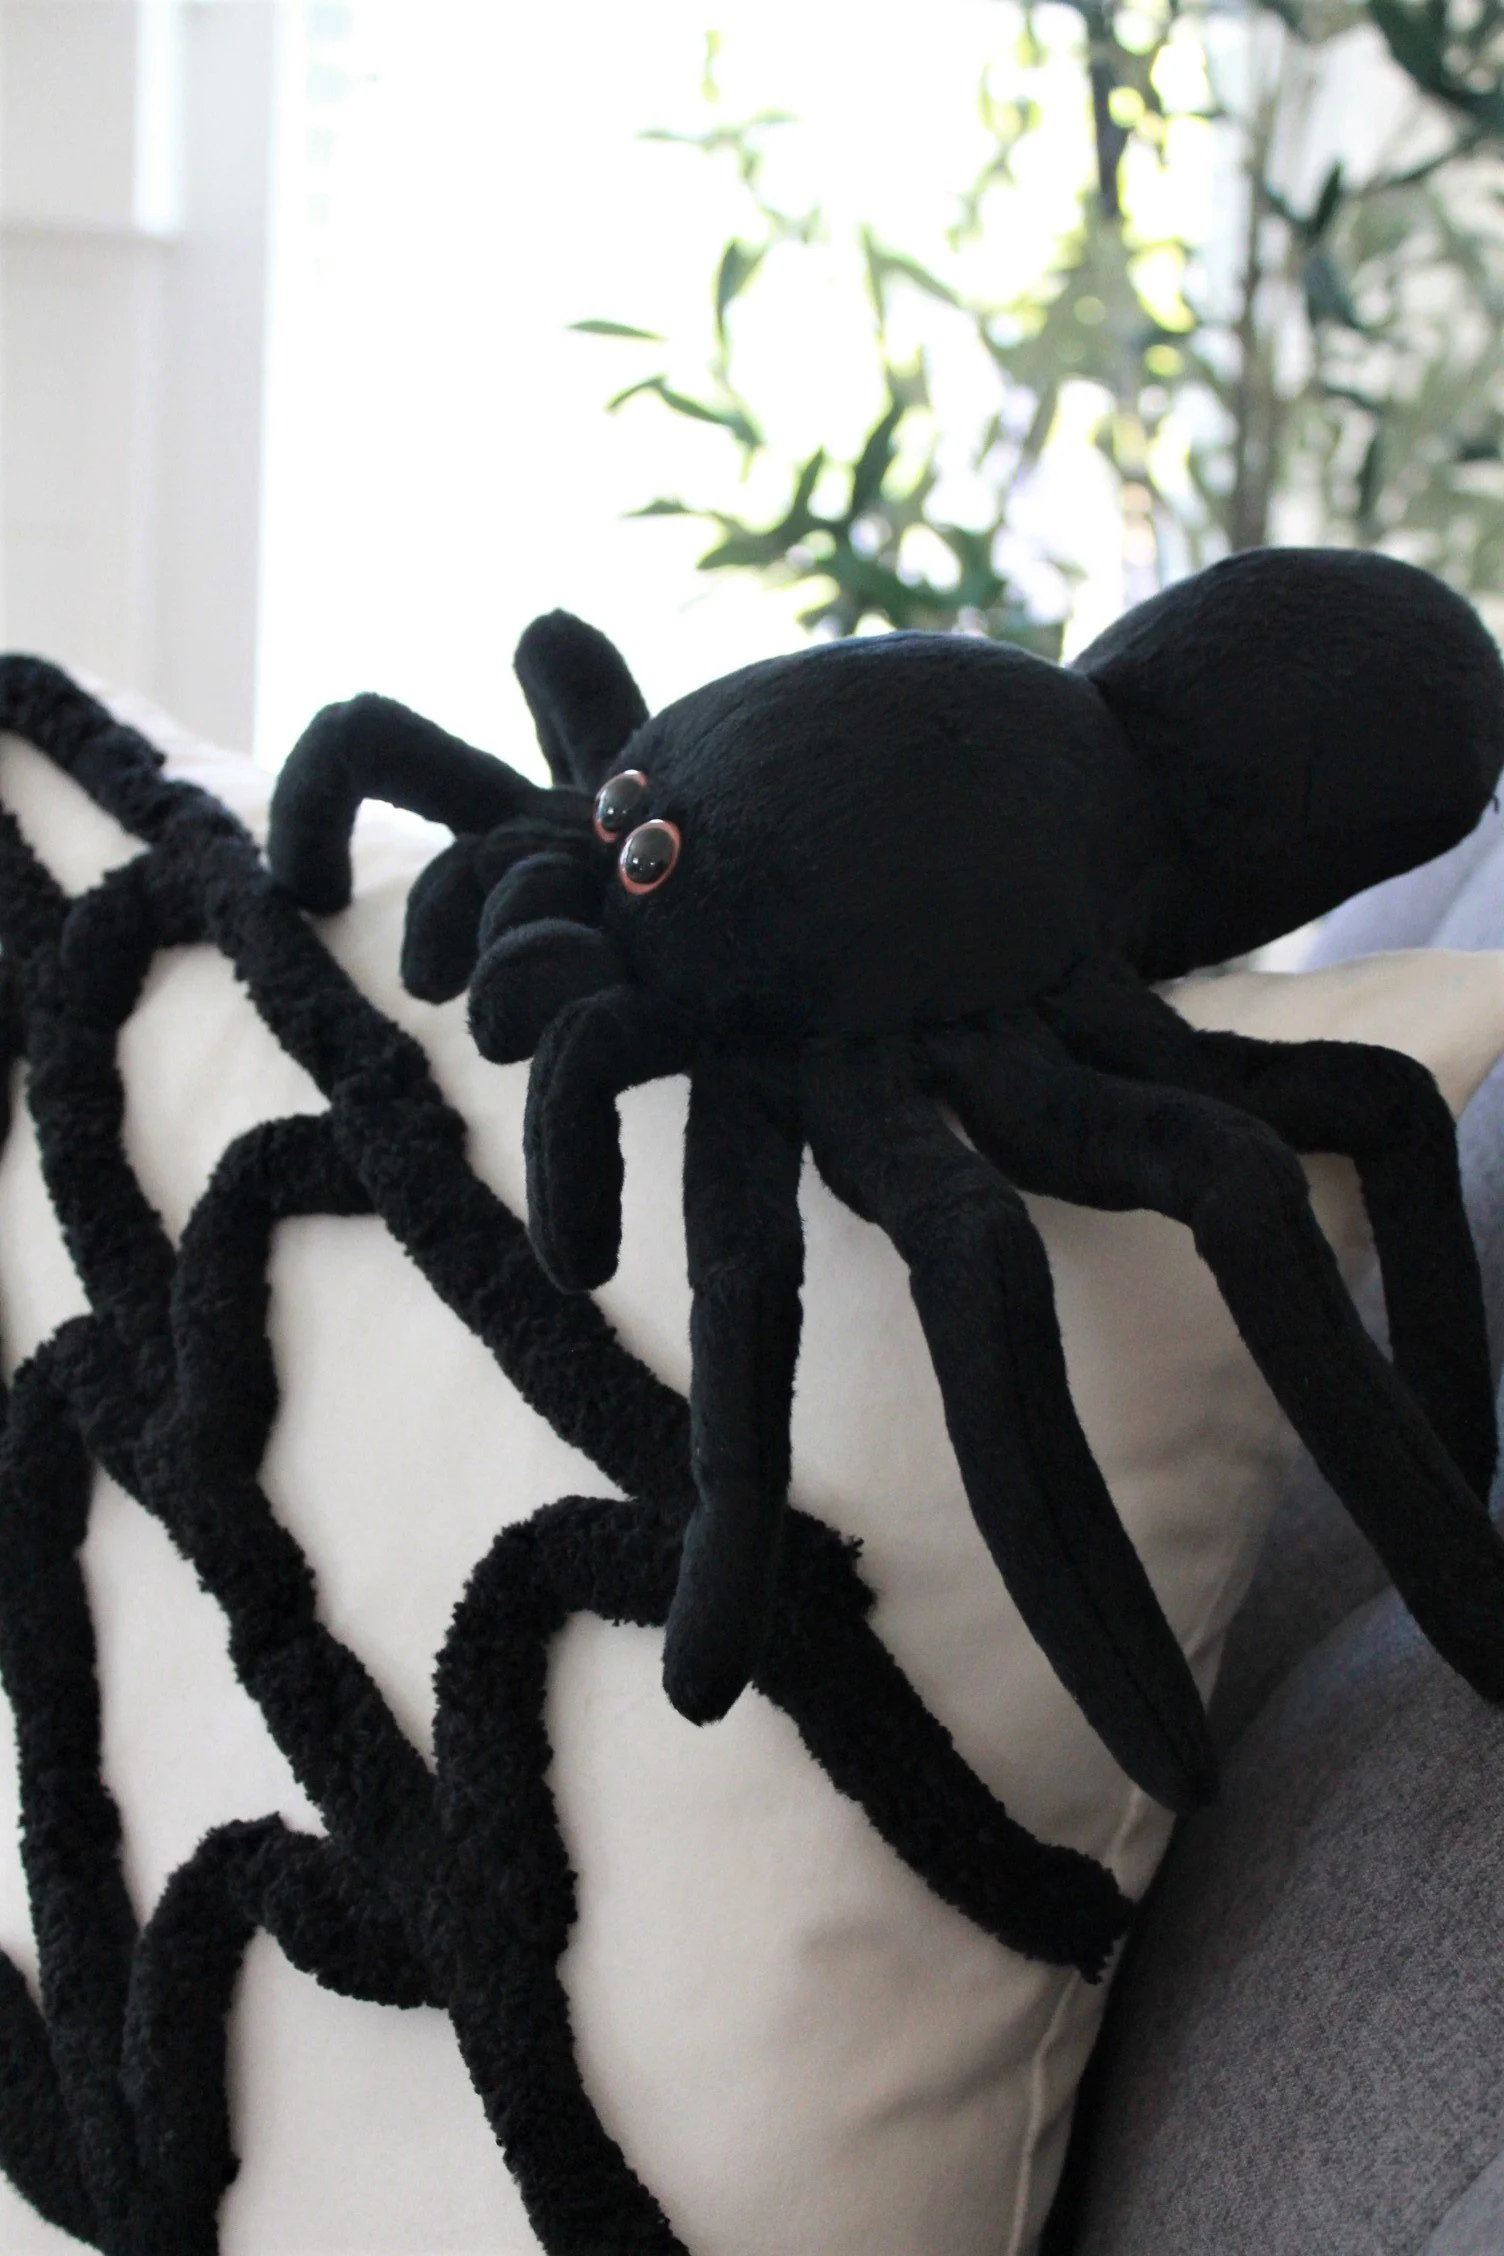
Big Eyed Plush Black Spider // Washable Toy
PROJECT TIME: 1 Hour
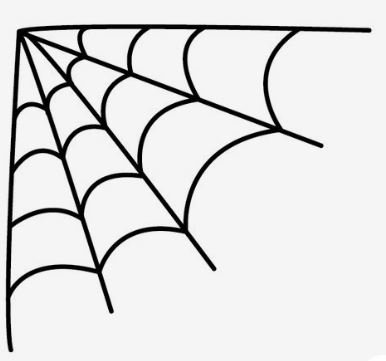
How to Draw a Spiderweb
Step by Step by easy peasy and fun
Here I included a link to a how-to-draw a spiderweb for quick reference if needed. I freehanded my own. However, this may be useful to you if needed.
INSTRUCTIONS:
STEP 1
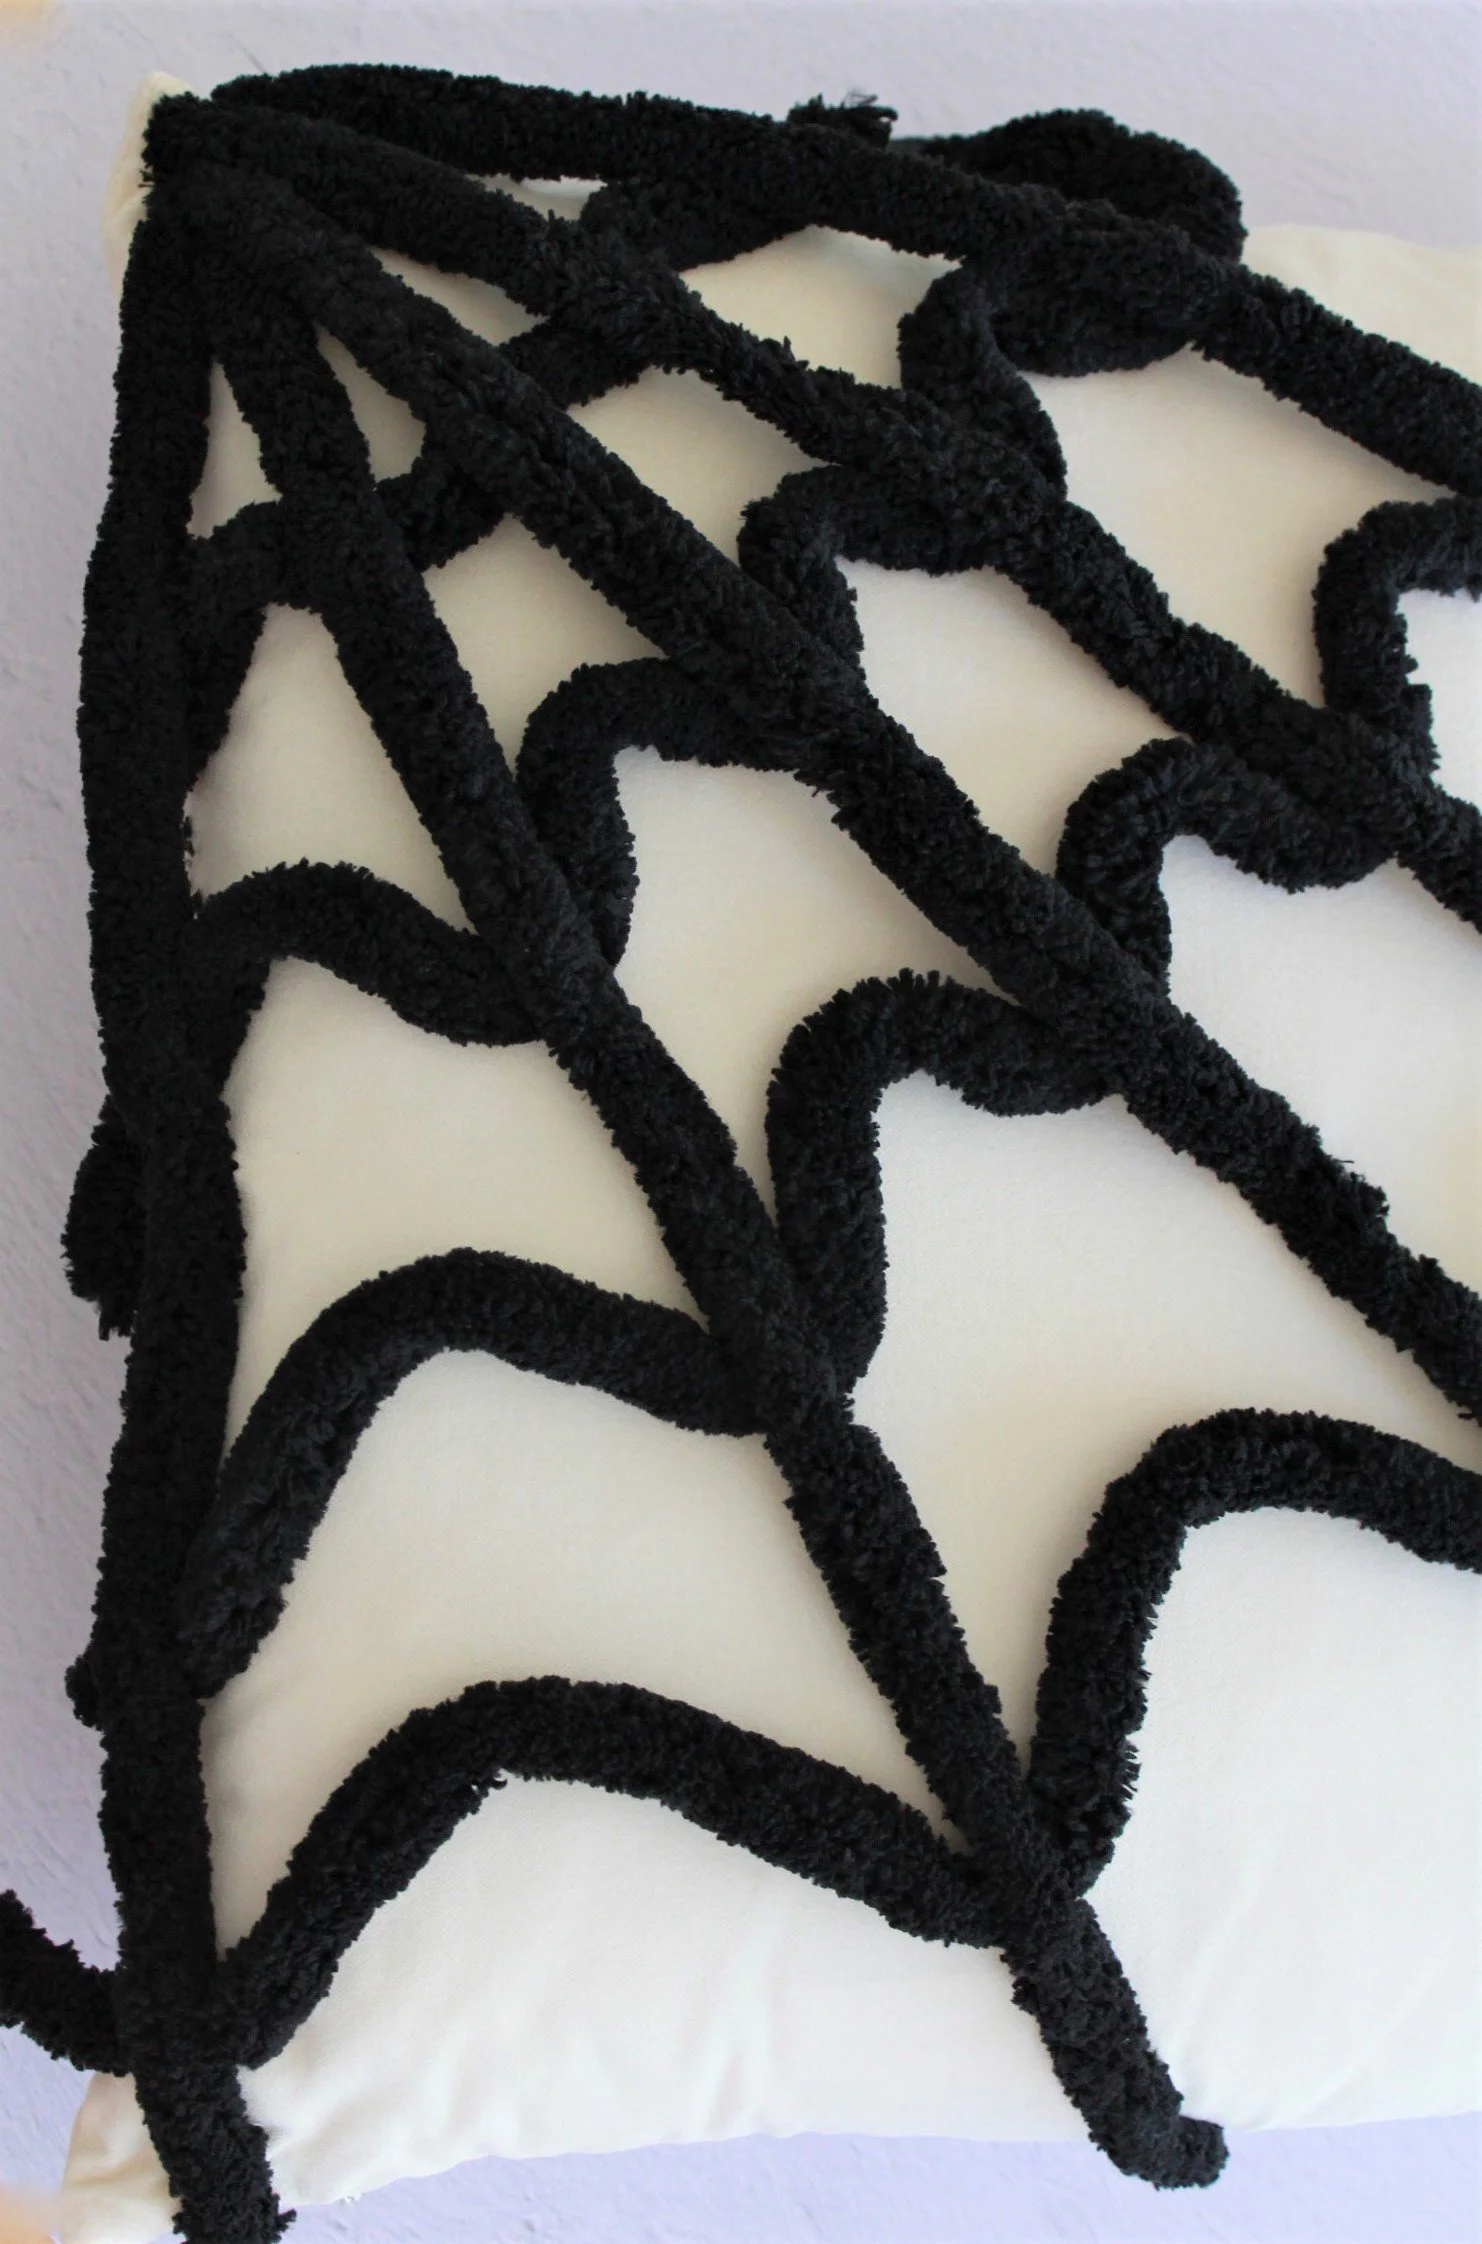
YOU WILL NEED TO CUT 8 STRANDS OF YARN. START BY ADDING YOUR FIRST STRAND OF YARN TO THE LEFT SIDE OF THE PILLOW IN A STRAIGHT HORIZONTAL LINE BY STITCHING THE YARN INTO YOUR PILLOW WITH 3 STRANDS OF EMBROIDERY FLOSs. DO SO ONLY WHERE NEEDED TO HOLD THE YARN IN PLACE.

ROWS 2 and 3 NEED TO BE AT 30-DEGREE ANGLES EACH, AND ROWS,4 and 5 need to be at 20-DEGREE ANGLES EACH. FYI: make sure to LEAVE blank SPACE ON THE RIGHT SIDE OF THE PILLOW SO THAT YOUR SPIDER DOESN'T BLEND INTO THE YARN ON THE top RIGHT SIDE.

STEP 2
For THE LAST THREE STRANDS OF YARN, YOU WILL need to TUCK THEM ALL VERTICALLY UNDERNEATH THE HORIZONTAL STRANDS AND BEGIN MAKING A WAVY WEB PATTERN BY STITCHING THE YARN INTO the PILLOW WITH 3 STRANDS OF EMBROIDERY FLOSS, AGAIN. ONLY WHERE NEEDED TO HOLD YARN PATTERN IN PLACE. I DID NOT NEED TO SEW THE FLOSS INTO EACH STRAND FULLY, JUST HERE AND THERE WHERE NEEDED.
STEP 3
NOW ALL THAT'S LEFT TO DO IS FIND A ROOM IN THE HOUSE TO DISPLAY YOUR NEW HALLOWEEN-INSPIRED spiderweb PILLOW. DON'T FORGET TO COMPLETE THE LOOK BY ADDING AN OVERSIZED PLUSH SPIDER-- EEK!

AS ALWAYS. I HOPE YOU GIVE THIS DIY A TRY AND DON'T FORGET TO TAG ME IF YOU'RE ON INSTAGRAM @KNOTJUSTPAPER FOR A CHANCE TO BE FEATURED IN MY STORIES! UNTIL NEXT TIME — HAPPY CRAFTING!
-Maritza.

