

DIY Shrink Film Keychains
DIY SHRINK FILM KEYCHAINS | LEARN TO MAKE YOUR OWN AT HOME USING GRAFIX SHRINK FILM SHEETS | BY MARITZAGARCIA.WEBSITE
This blog post is a collaboration with Grafix Arts who also provided me with all the Grafix Brand materials I used for this project. This blog post also contains hyperlinks to Grafix Arts products and/or links to some of the other products I used to create this project. Note: I don’t get compensated via Grafix nor any other company if you purchase any of the materials listed. I add links to help make finding the project products easier for you to find if you are interested. I only recommend products I trust and use for my projects. You will not be redirected to any other website(s) unless you choose to click on the links provided.
TODAY I’M SHARING HOW I CREATED THESE ADORABLE KEYCHAINS USING A VARIETY OF GRAFIX SHRINK FILM SHEETS. NOT ONLY ARE THEY LOTS OF FUN TO CREATE. THEY ARE ALSO SUPER EASY TO COMPLETE IN A MATTER OF MINUTES.

MATERIALS NEEDED:
GRAFIX SHRINK FILM / KEYCHAIN(S) / PERMANENT (COLOR) MARKERS / HOLE PUNCH/ CRAFT SCISSORS / CUTTING MACHINE (OPTIONAL).

SHRINK FILM PLASTICS
INSTRUCTIONS:
STEP 1.
TAKE A SHEET OF GRAFIX SHRINK FILM AND FREE-HAND DRAW OR TRACE ANY SHAPE OR DESIGN OF YOUR CHOICE, NEXT, USING YOUR FAVORITE CRAFT SCISSORS, CUT-OUT YOUR SHAPES/DESIGNS, OR YOU MAY RUN A SHEET OF SHRINK FILM THROUGH A CUTTING MACHINE IF PREFERRED (THIS STEP IS OPTIONAL).
STEP 2.
ONCE ALL YOUR PIECES ARE CUT-OUT. FILL-IN WITH USING PERMANENT COLOR MARKERS. SET ASIDE AND LET INK(S) DRY.
STEP 3.
NEXT. HOLE PUNCH YOUR CUT-OUTS PRIOR TO BAKING SHRINK FILM, (I’M GUILTY OF NEARLY MISSING THIS STEP MYSELF). : P
STEP 4.
PREHEAT OVEN AND FOLLOW SHRINK FILM BAKING INSTRUCTIONS FOR BEST RESULTS.
STEP 5.
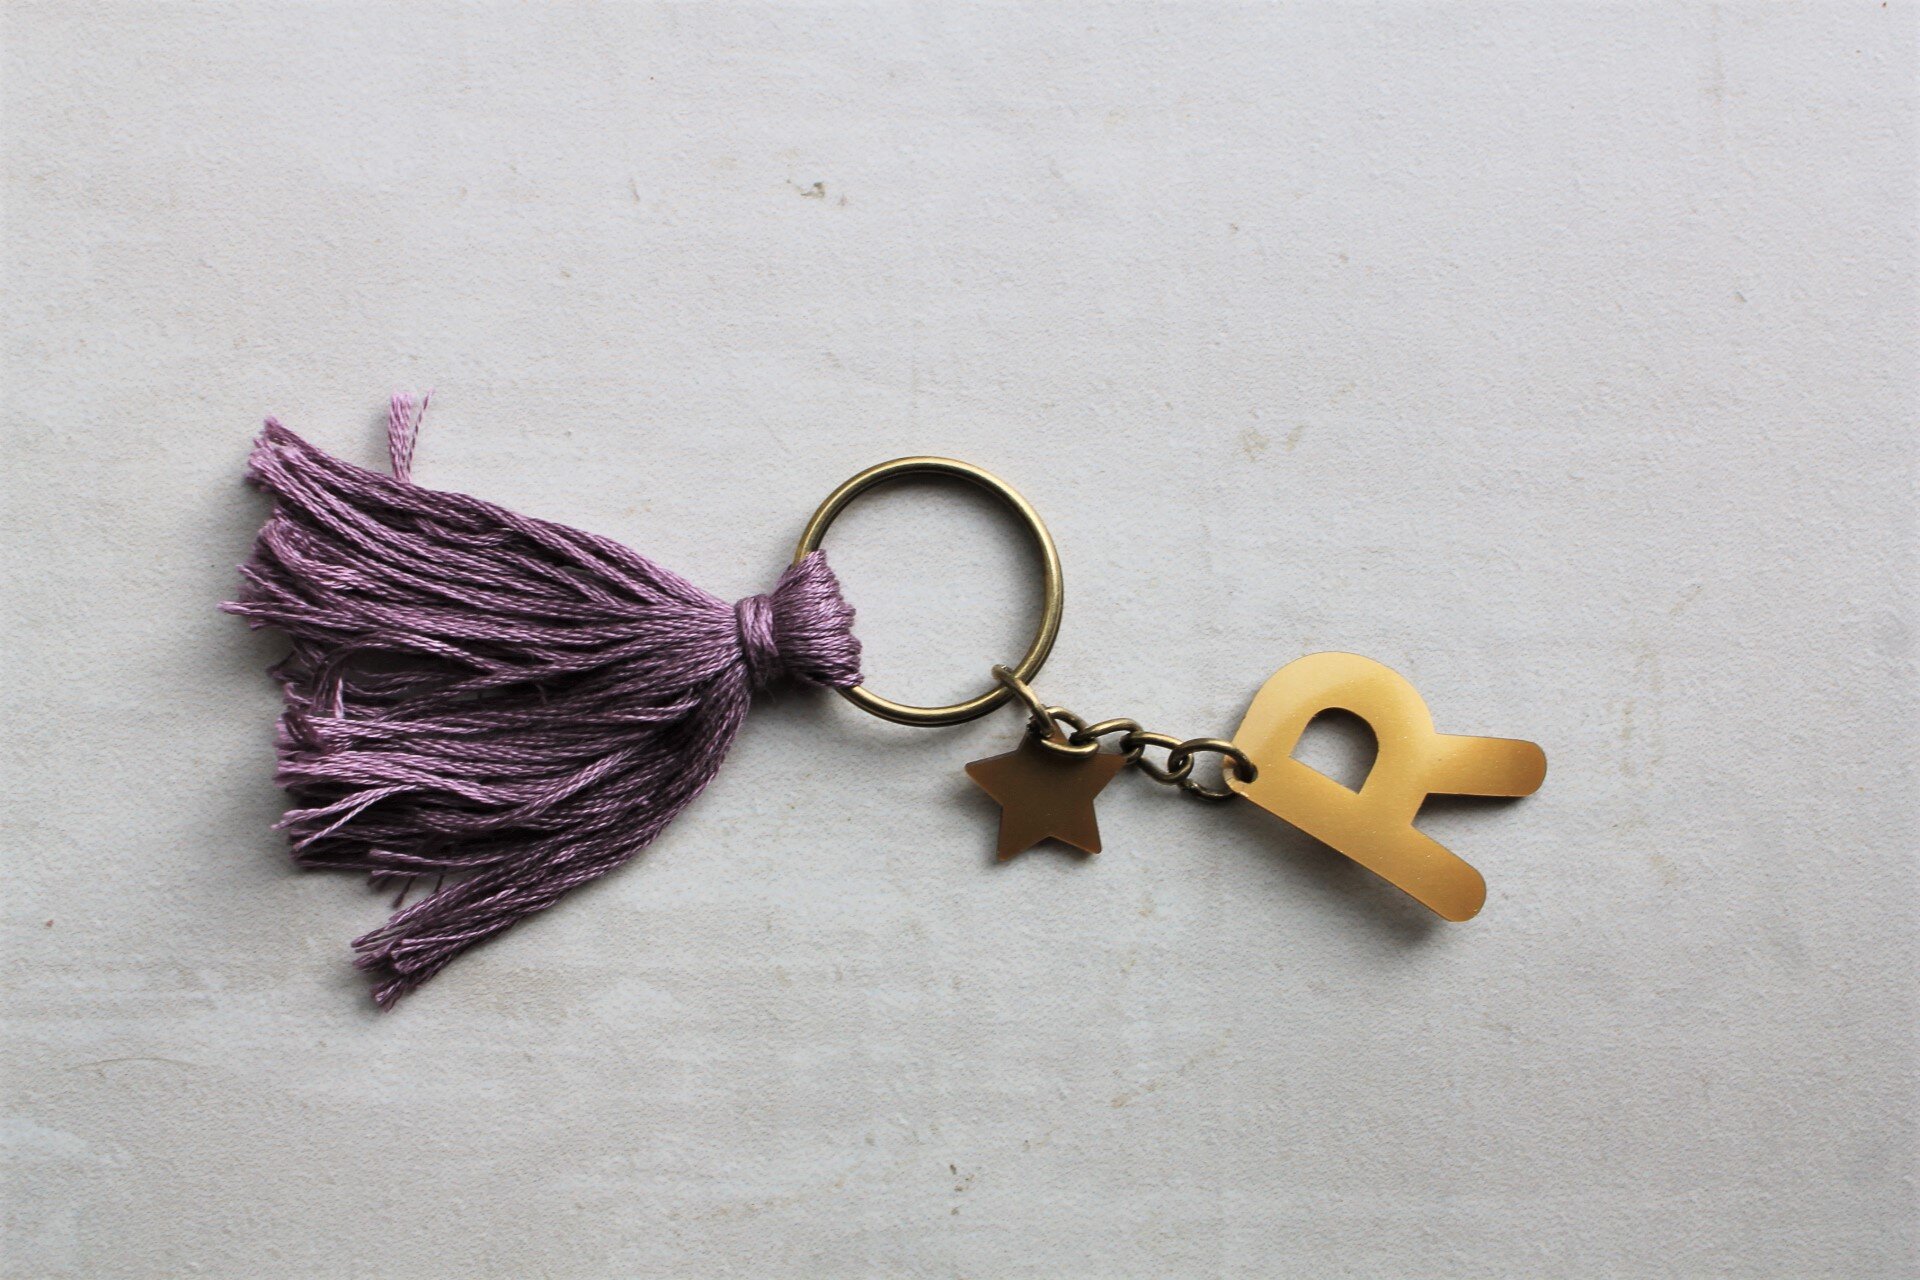
ONCE SHRINK FILM IS OUT THE OVEN AND SHRINK FILM CUT-OUTS HAVE COOLED. TAKE A KEYCHAIN AND ATTACH YOUR SHRINK FILM CUT-OUTS, AND INCLUDE ANY OTHER EMBELLISHMENTS TO FINISH OFF YOUR KEYCHAIN.
PROJECT TIME: 30 MINUTES


PRESHRINK
BEFORE AND AFTER IMAGES
.
LETTER SIZE PRESHRINK 2.5” H X 1.8” W LETTER SIZE AFTER 1”H X 5/8”W

TIP: DON’T FORGET TO HOLE PUNCH PRIOR TO BAKING
.
PRESHRINK HEART PUNCH SIZE 2” 3/8 HEART SIZE AFTER 1” 1/8
PRESHRINK STAR PUNCH SIZE 1” 3/8 STAR SIZE AFTER 5/8”


BEFORE
.
PRESHRINK HELLO SENTIMENT SIZE 3” H X 6” W SIZE AFTER 1.5” H X 3” W
PRESHRINK HAND SIZE 4” H X 3.5” W SIZE AFTER 1” 7/8 H X 1” 3/4 W

AFTER
.

BEFORE
.
PRESHRINK LOCK 4.5” H X 3” W SIZE AFTER 2” H X 1/2” W
PRESHRINK KEY 3.5” H X 2.5” W SIZE AFTER 1” 7/8 H X 1/4” W

AFTER
.
AS ALWAYS. I HOPE YOU GIVE THIS DIY A TRY. UNTIL NEXT TIME — HAPPY CRAFTING!
-Maritza.

