How to Create 3 Awesome DIY's Using Mothology Products
3 DIY's Using Mothology Products | How to Create Beautiful Home, Wedding or Personal Decor Using Vintage Inspired Pieces | by maritzagarcia.website
This post contains affiliate links to products I use and trust. All opinions on the products being used are my own. Know that you will NOT be redirected to other websites unless you choose to click on links. My promise to you.
Here's too the grand reveal.
When two worlds collided, what did we get?! Moth and Paper -well, figuratively speaking. A few weeks back, Mothology and I exchanged messages on a collaboration. I was over the moon and beaming with excitement when I received their message. I absolutely love everything Mothology, and too have been consider and given an opportunity to work on this project for them, was truly the highlight of my Spring 2017 by far.
*Mothology sent over my top three picks I chose to work with. the products i chose are both, staples within my own stationery needs, as well as multi-functional.
All products were selected by me, all opinions of these products and of Mothology are my own. I don't believe in deceiving my readers into believing in a company I wouldn't believe in, or in products I wouldn't want in my own home.
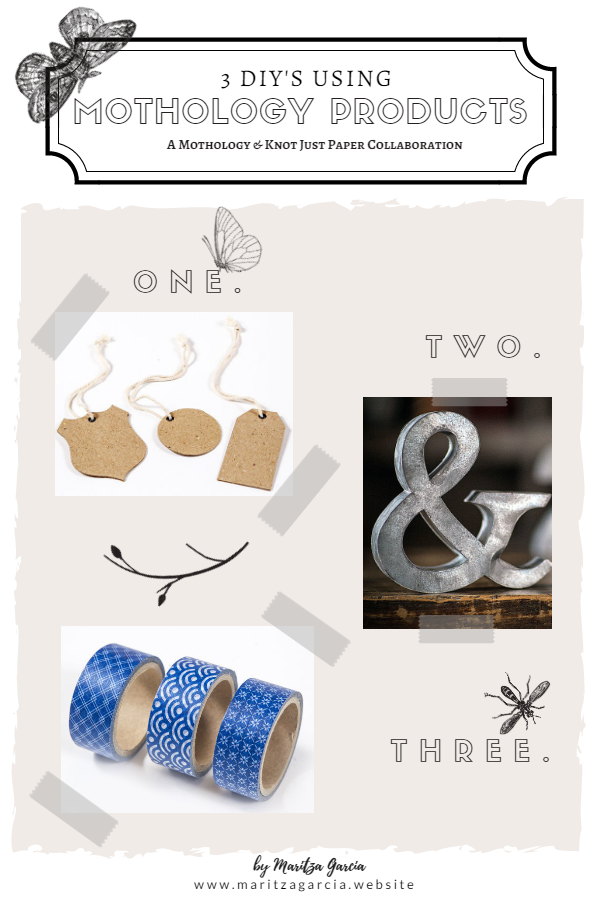
1. Set of Ten Paper Tags with Rivet and String
2. Japanese Blue Pattern Masking Tape
3. Metal Zinc Ampersand
If you haven't heard of Mothology, let me introduce you. The Vagabond Vintage Retail Site – Mothology has some of the most beautiful vintage furnishings and inspired decor objects from around the world. I'm confident you can find something unique to fit right in with your home style decor -but please, don't take my word for it, see for yourself by clicking here .
Now, who's ready to get crafty?! Below you will find 3 very easy and inexpensive Mothology products to help you create three very beautiful handmade crafts for any occasion.
Let's Get Started.
1. Paper Tag 2-1 DIY : how to Make simple hang tag Book Markers and/or fun layered Gift Tags.
Le' Book Maker:
things you will need;tags,paint brush, paint,gel pen.
Instructions
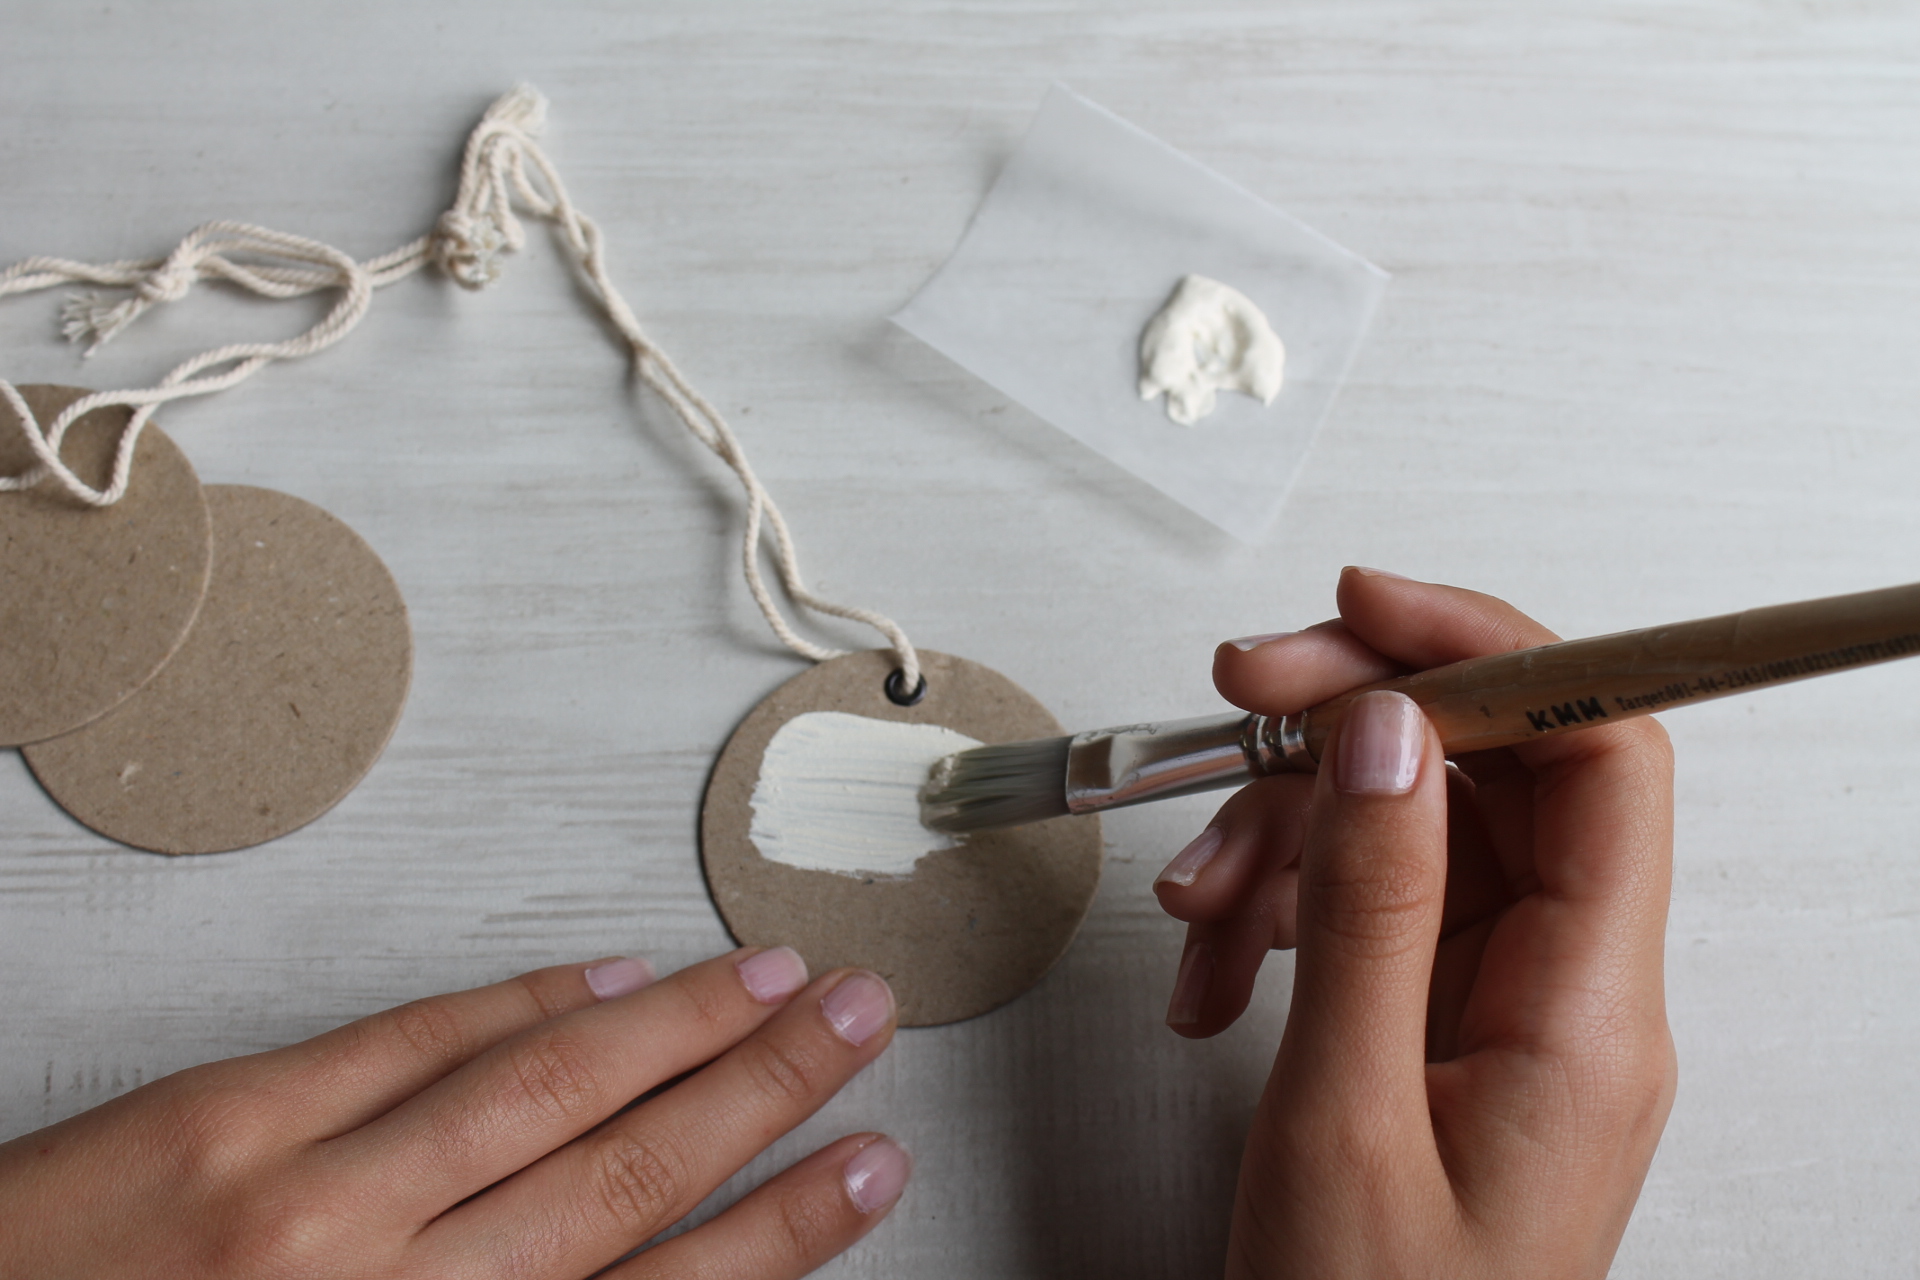
Step One.take a flat wide paint brush.
step two.using your choice of paint color, paint around your tag, set aside to dry.
step three.once tag is dry, add a SENTIMENT using a Gel pen or leave blank.
Click on images to enlarge
*project time: 20 minutes
part two - Paper Tag 2-1 DIY : how to Make simple hang tag Book Markers and/or fun layered Gift Tags.
LE' layered gift tag:
things you will need;tags,paint brush, paint,gel pen, paper,DOUBLE SIDED FOAM ADHESIVE,double sided clear tape.
Instructions
STEP ONE.TAKE A FLAT WIDE PAINT BRUSH.
STEP TWO.USING YOUR CHOICE OF PAINT COLOR, PAINT AROUND YOUR TAG, SET ASIDE TO DRY.
step THREE. once tag is dry, turn over, and add a DOUBLE SIDED FOAM ADHESIVE dot to back of tag.
STEP four.next,take a strip of paper and cut into a 5 1/2"L x 5/8"H piece of paper, snip off corners to make a banner. .
Step five. decorate your banner with dots or swirls and write out a SENTIMENT using a Gel pen.
step six.add DOUBLE SIDED clear tape to back of banner.
step seven.layer your banner on top of your tag.
step eight.add to any package, and you are all finished!
Click on images to enlarge
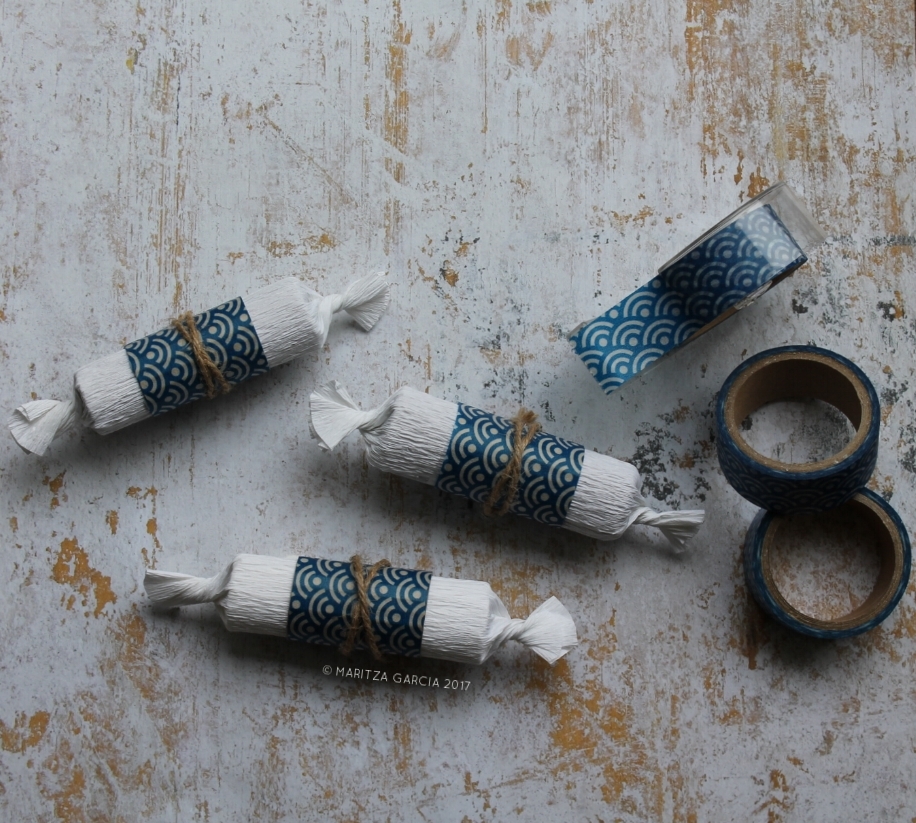
How-To make Simple Cracker-Style Mint Filled Favors
things you will need: White Crepe Paper, Scissors, Clear Tape, Japanese Blue Pattern Tape, Corrugated Cardboard Sheet(s) and twine (Optional).
Instructions
Step One. Cut a Corrugated Cardboard Sheet into 3 1/2"L x 1 1/2"H rectangle piece.
Step Two. Using the same Corrugated Cardboard Sheet cut another rectangle piece into 6"L x 3"H piece
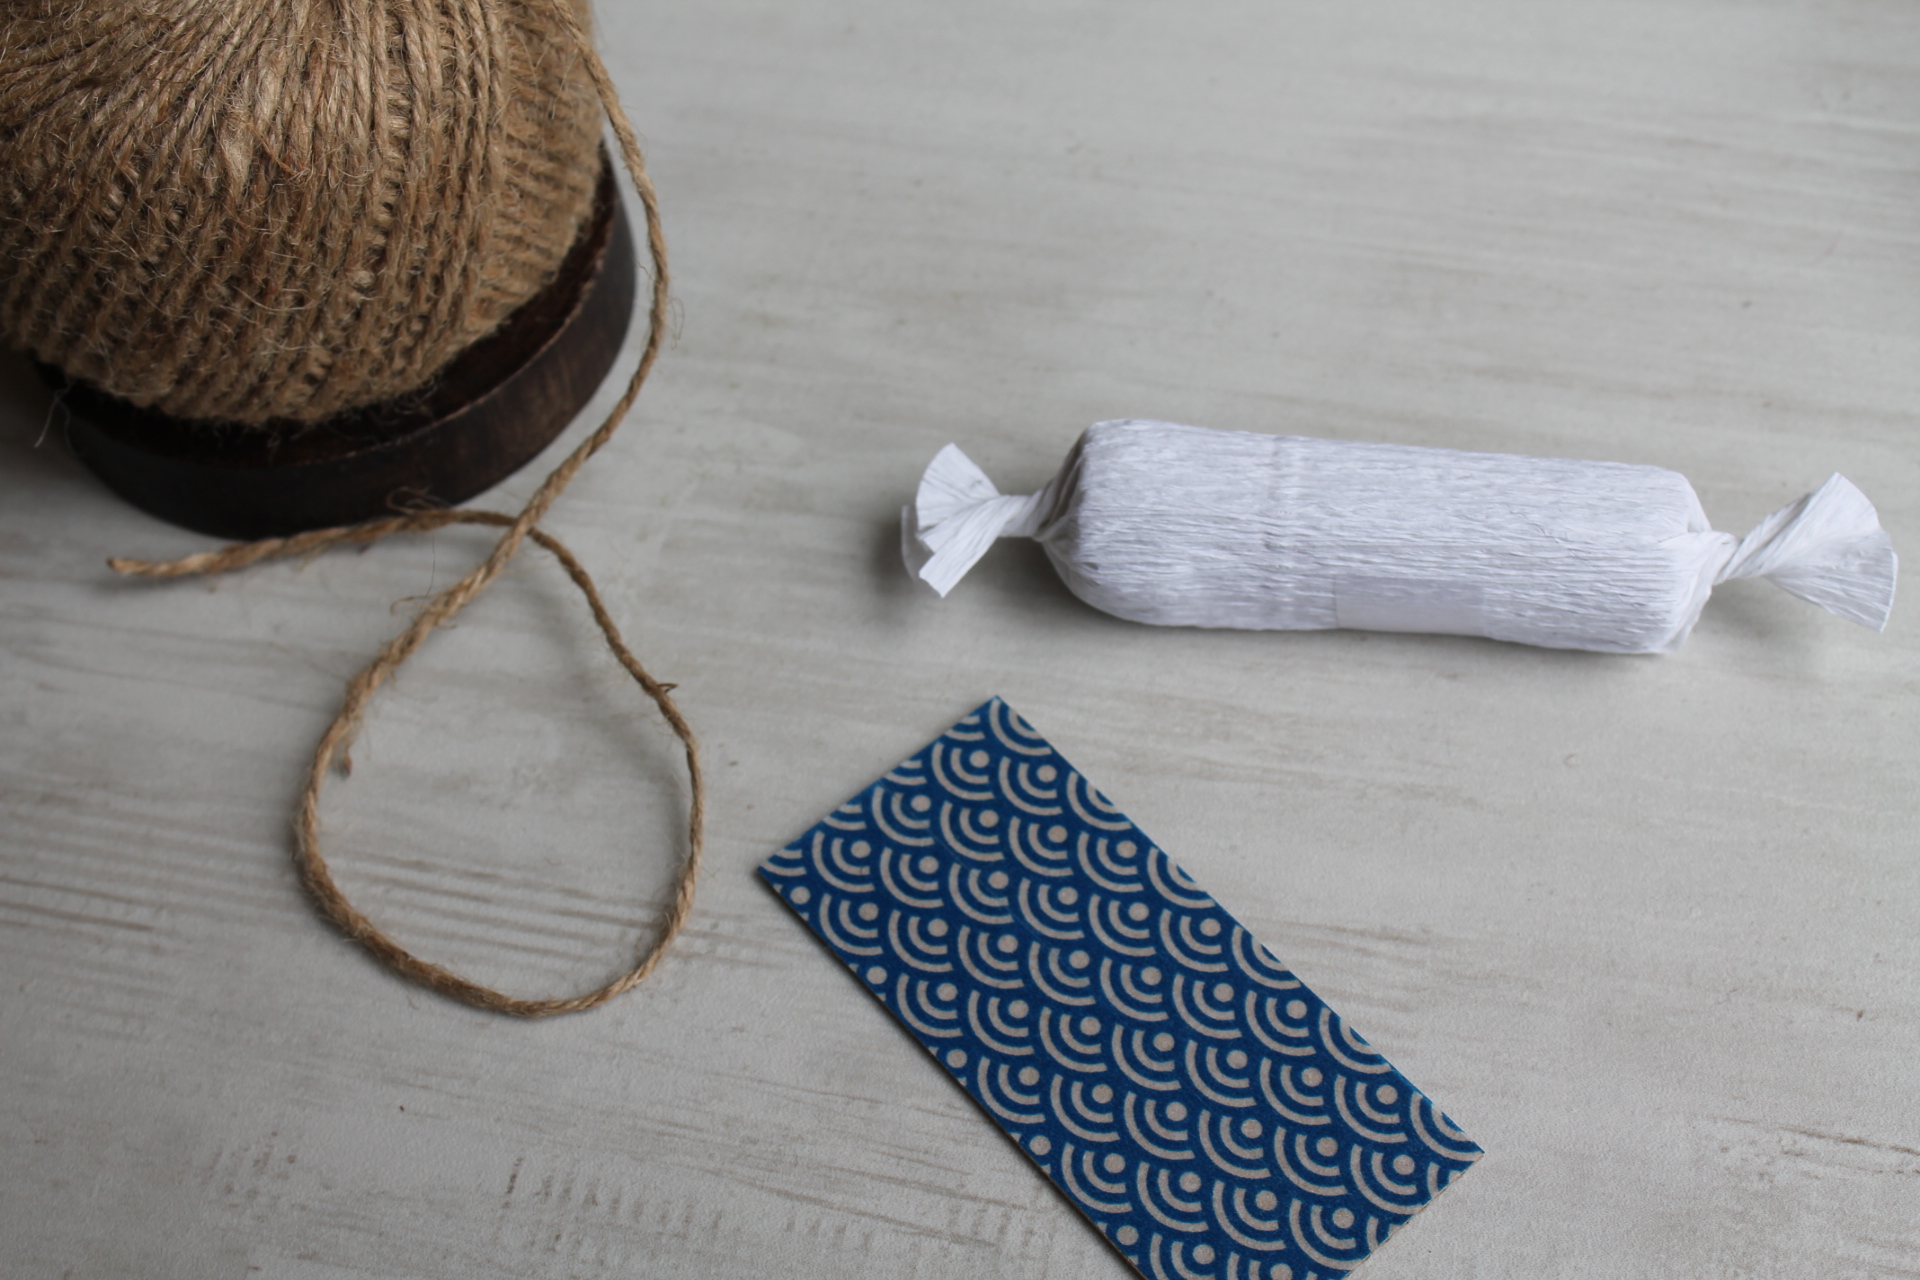
Step three. Cut White Crepe Paper into 6"L x 3"H rectangles.
Step Four. Take your Corrugated Cardboard 3 1/2"L x 1 1/2"H rectangle piece and roll it into a tube, add clear tape to hold shape.
Step five. Now, take a piece of Crepe Paper and roll around Corrugated Cardboard tube, add clear tape to white crepe paper to hold in place.
Step six.TWIST one end of your crepe paper to seal end.
step seven.start inserting your treats into OPPOSITE open end. finish by twisting open end shut.
step eight.next, take your 3 1/2"L x 1 1/2"H rectangle piece of Corrugated Cardboard sheet and cover it with tape, trim down any excessive tape with scissors.
step nine.note: this part is OPTIONAL. add twine to finish your cracker-style favor.
step ten. You’re all finished!
Click on images to enlarge
*PROJECT TIME: 25 MINUTES
3. Metal Zinc Ampersand DIY
How to turn your Metal Zinc Ampersand into a Magnet Letter.
things you will need:Magnetic adhesive dots and an Alphabet Ampersand Letter.
Instructions
Step One. cut your Magnetic adhesive dots to add to the back of metal zinc letter.
Step two. once your Magnetic adhesive dots are all cut add to back of your Metal Zinc Ampersand Letter.
Step three. You are now finished! now go place your Metal Zinc Ampersand Letter to any magnetic surface. Ideas: Refrigerator, Home Office Magnet Board or to your own Magnetic Chalkboard.
Click on images to enlarge
*PROJECT TIME: 5 MINUTES
Want too stay in the loop and get the latest scoop on DIY's or News. Make sure to sign up and subscribe or follow along on Instagram, Pinterest or Bloglovin'. As always. I really do hope you give these DIY's a try. Use hashtag knotjustpaperdiy to share via Instagram. Until next time friend. Happy crafting!
- Maritza.
