DIY: Clay Tags
DIY Clay tags using IKEA Cookie Cutters | AIR-DRY Clay tags | by maritza garcia
time for another DIY. With so little time to get crafts done these days. I thought we could all use a super easy and inexpensive DIY today!
This DIY was Featured On Domino -Bring Your Style Home.
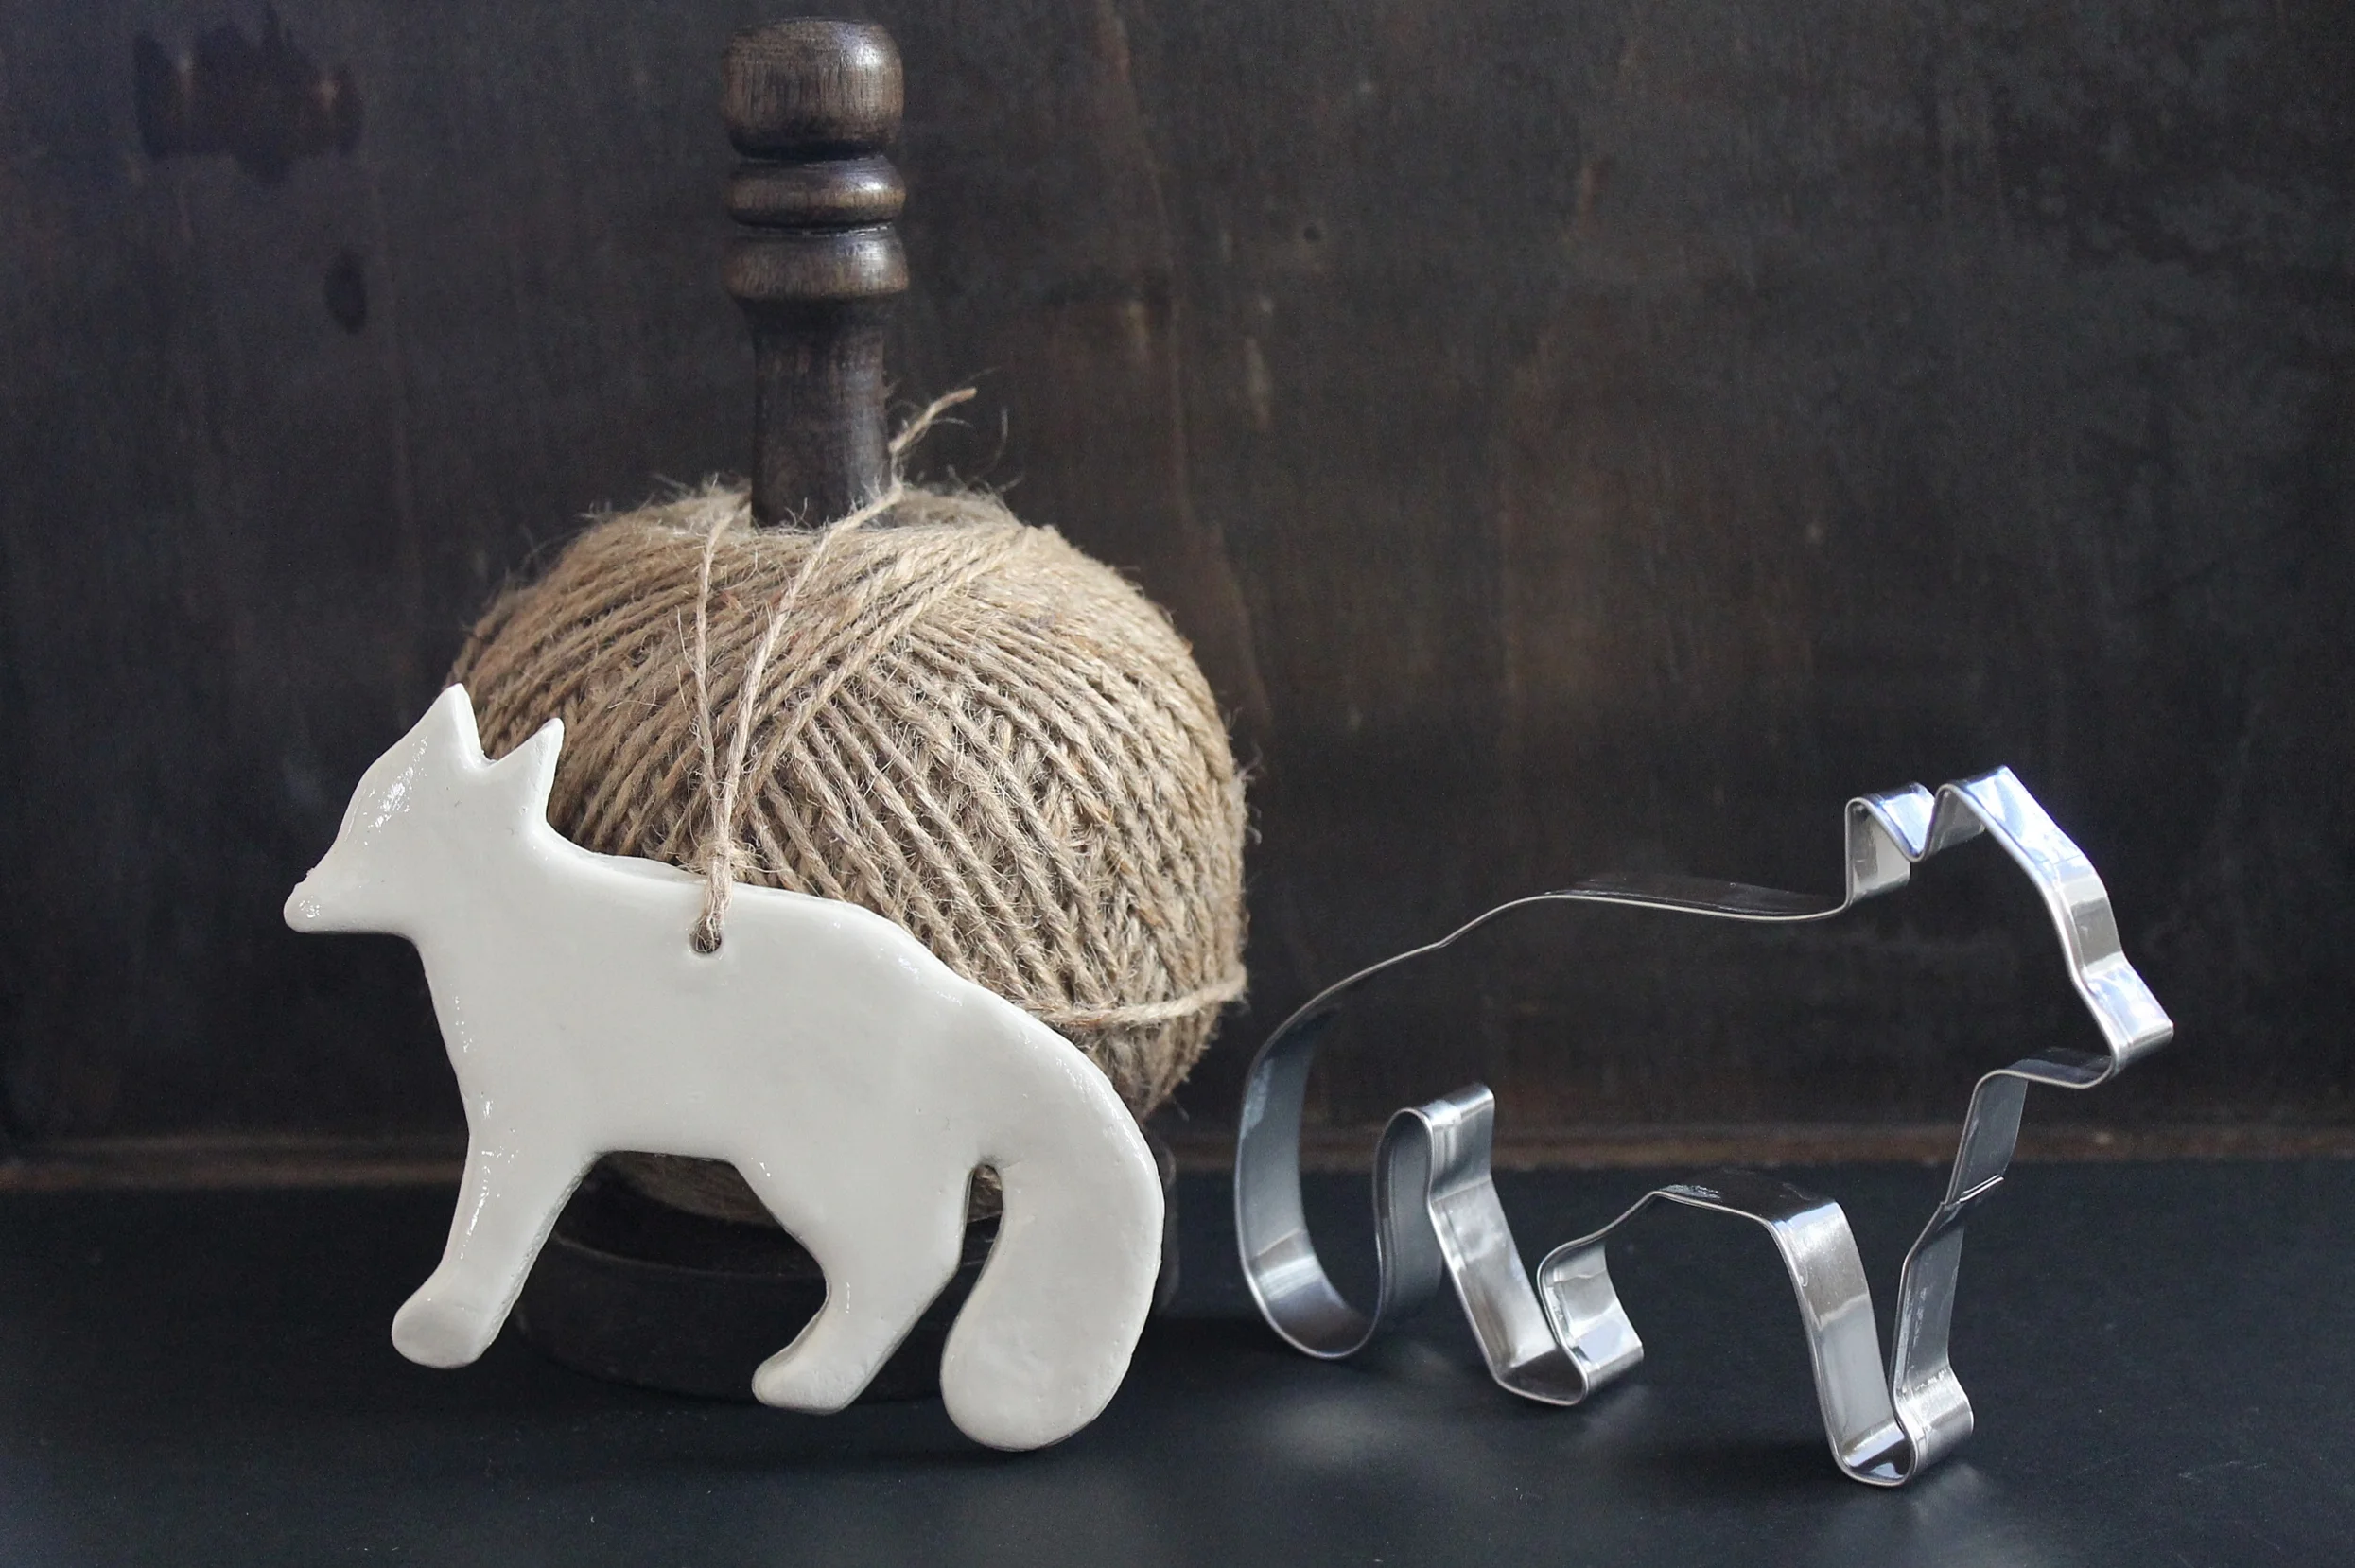
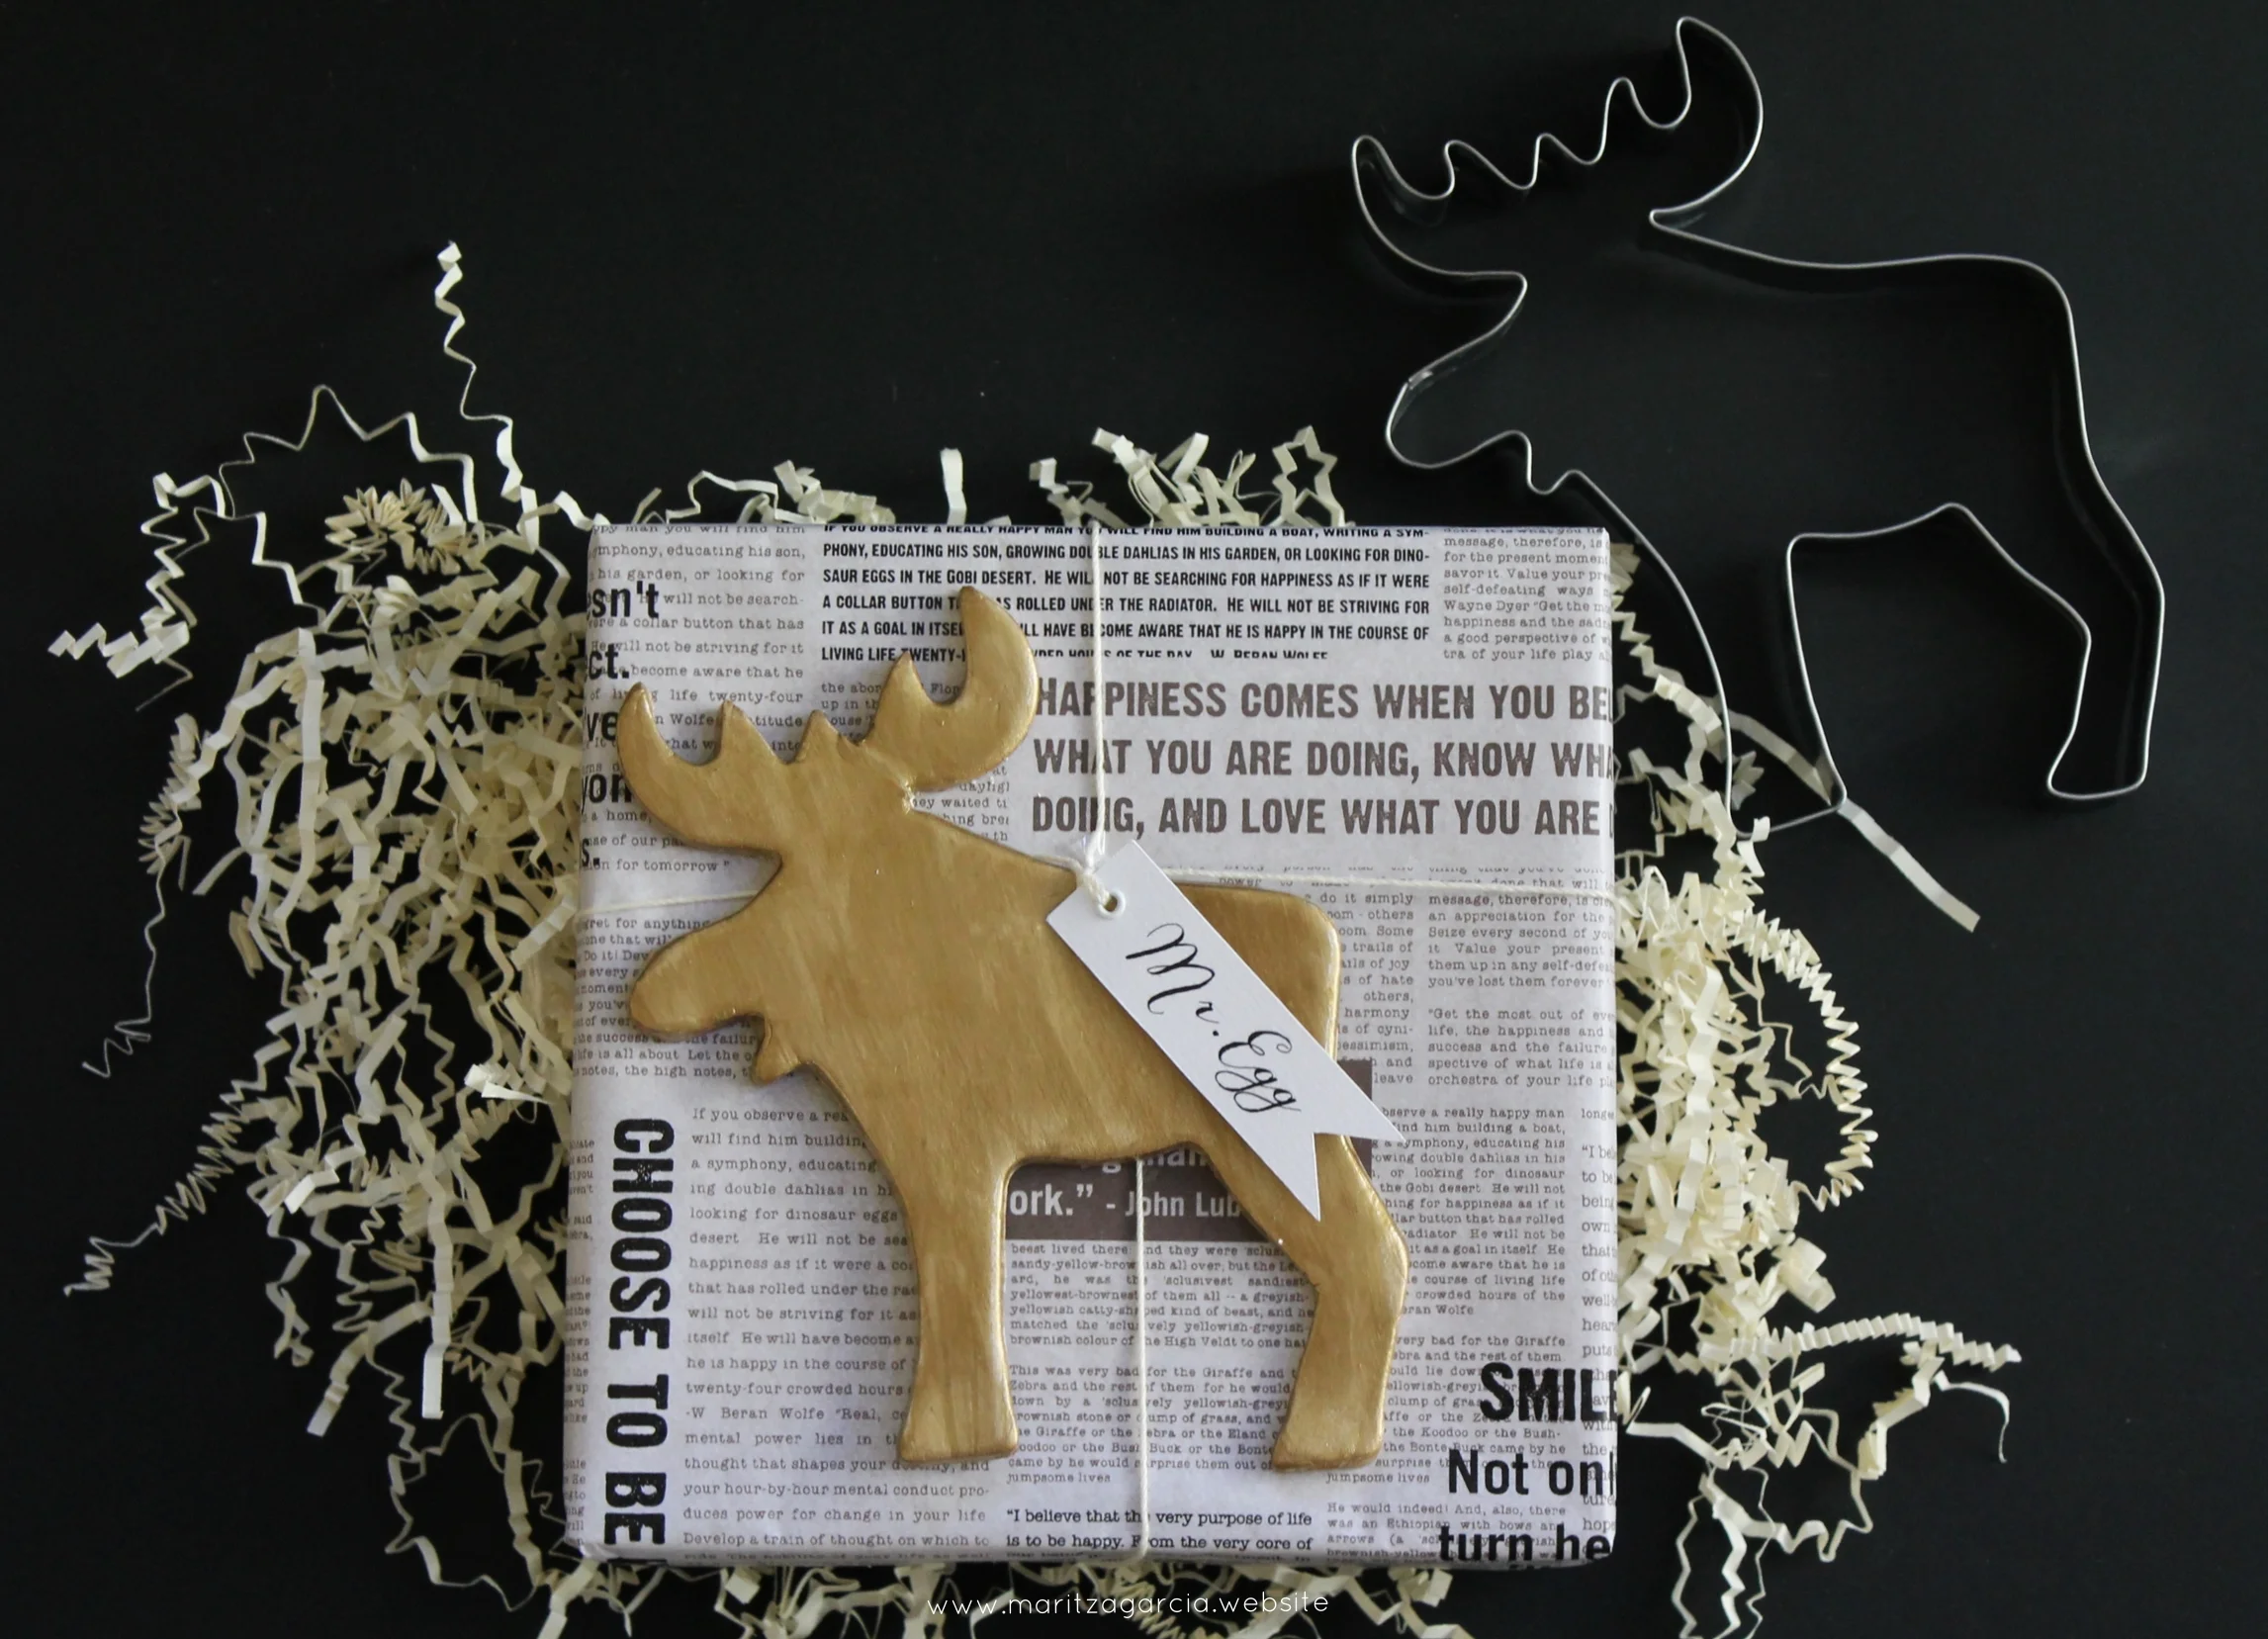
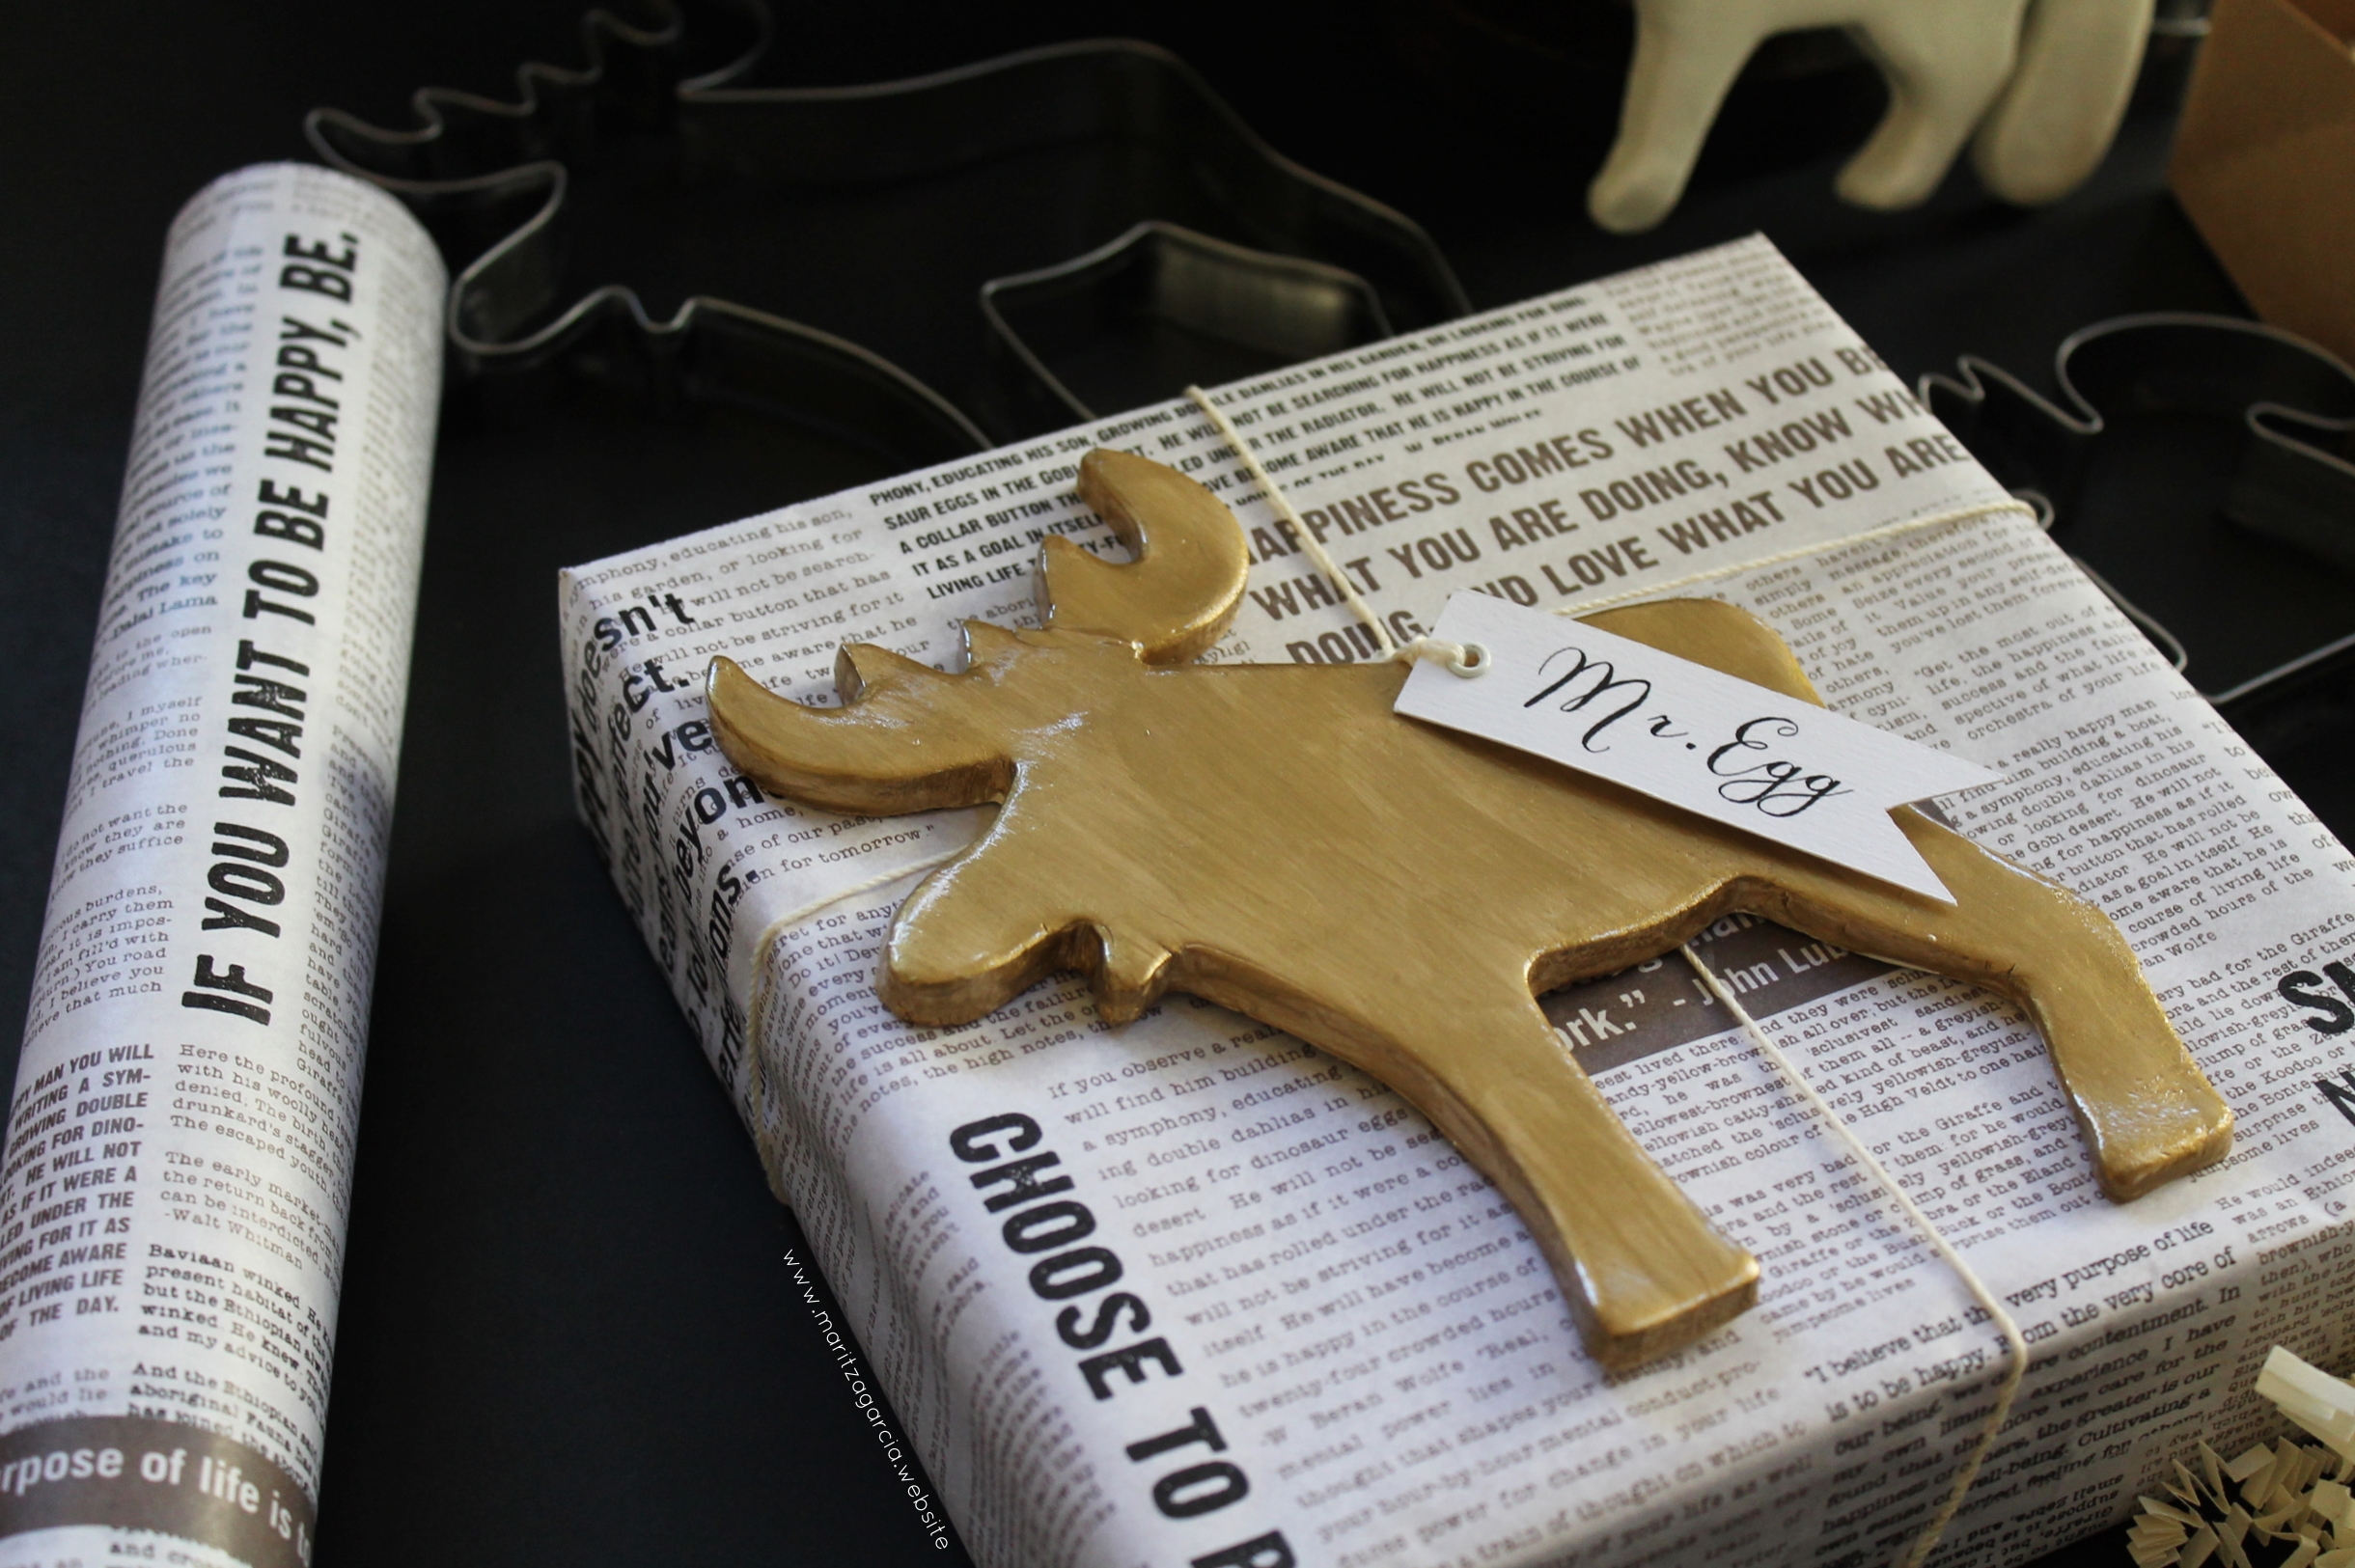
If you like what I did with my Ikea cookie cutters. I invite you to continue reading to get all the details.
To get started with this Ikea Hack you will need a small list of supplies. I have added all the links to help you find everything you'll need to make your very own clay tags below.
Supplies
1. Air Dry Clay
2. Wooden Rolling Pin and Wax Paper
3. Cookie Cutters
4. Craft Smart Metallic Paint
5. Paint Brushes
6. Americana Triple Thick Gloss Glaze
7. Jute Twine
Instructions
step ONE.
Start by softening your clay, you may add a little water to your clay if it feels a bit hard, you'll want to get a semi-doughy texture.
step two.
Place a 12 x 12 square sheet of wax paper onto your work surface to keep your clay from sticking or damaging your counter top(s), place your clay onto the wax paper and starting rolling your clay to about 1/4" thickness.
Step three.
Take your cookie cutters and start cutting out your shapes, once you are done make sure to poke a hole in the center to add your twine later on, next place your shapes on a cardboard sheet and let dry for 1-3 days; you heard right, 1-3 days depending on the thickness of your clay.
Step four.
Once your clay has completely dried, using a soft paint brush, apply your color, let dry completely before applying your gloss glaze for extra shine.
step five.
Lastly, add twine of your choice and you are done- I hope you enjoy sharing this project with friends and family.
As always. I really hope you'll give this DIY a try. Use hashtag knotjustpaperdiy to share via Instagram. Until next time. Happy crafting!
- Maritza.
